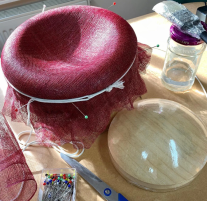
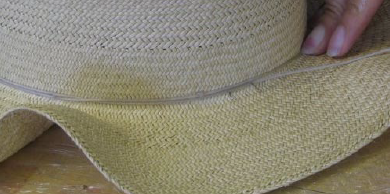
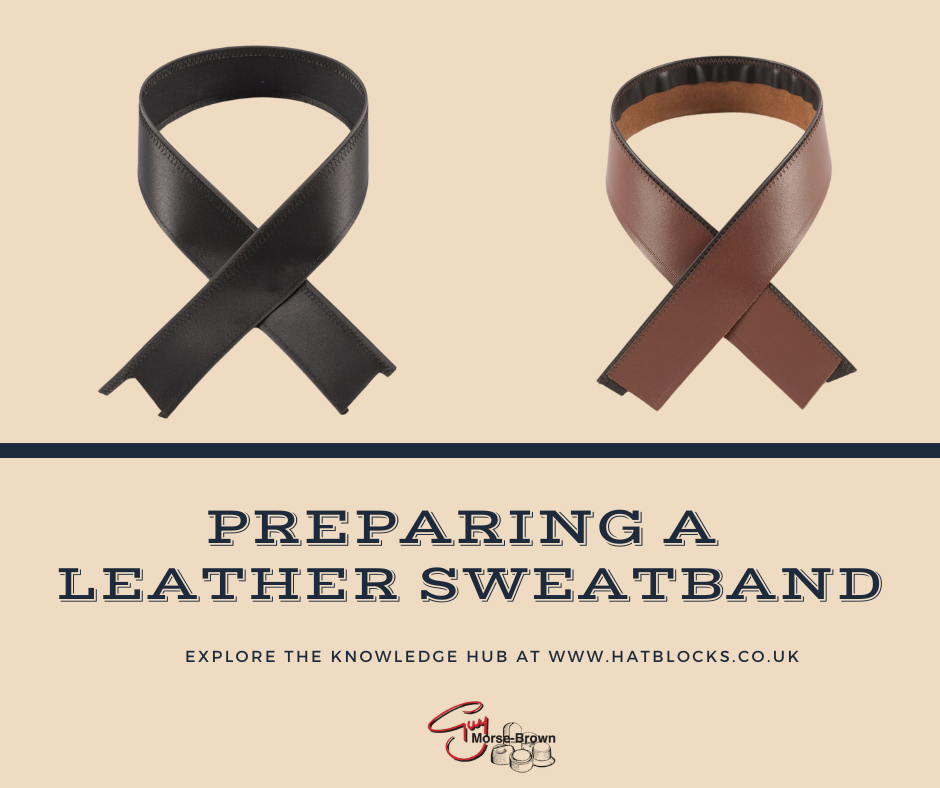
Read this guide to learn how to prepare your leather sweatband for sewing into your hat.
Leather sweatbands come with a stitched empire tape band around the lower edge and within this is a nylon reed. The reed gives the bottom edge rigidity but, if used correctly, also allows you to create a more comfortable fit for the wearer.
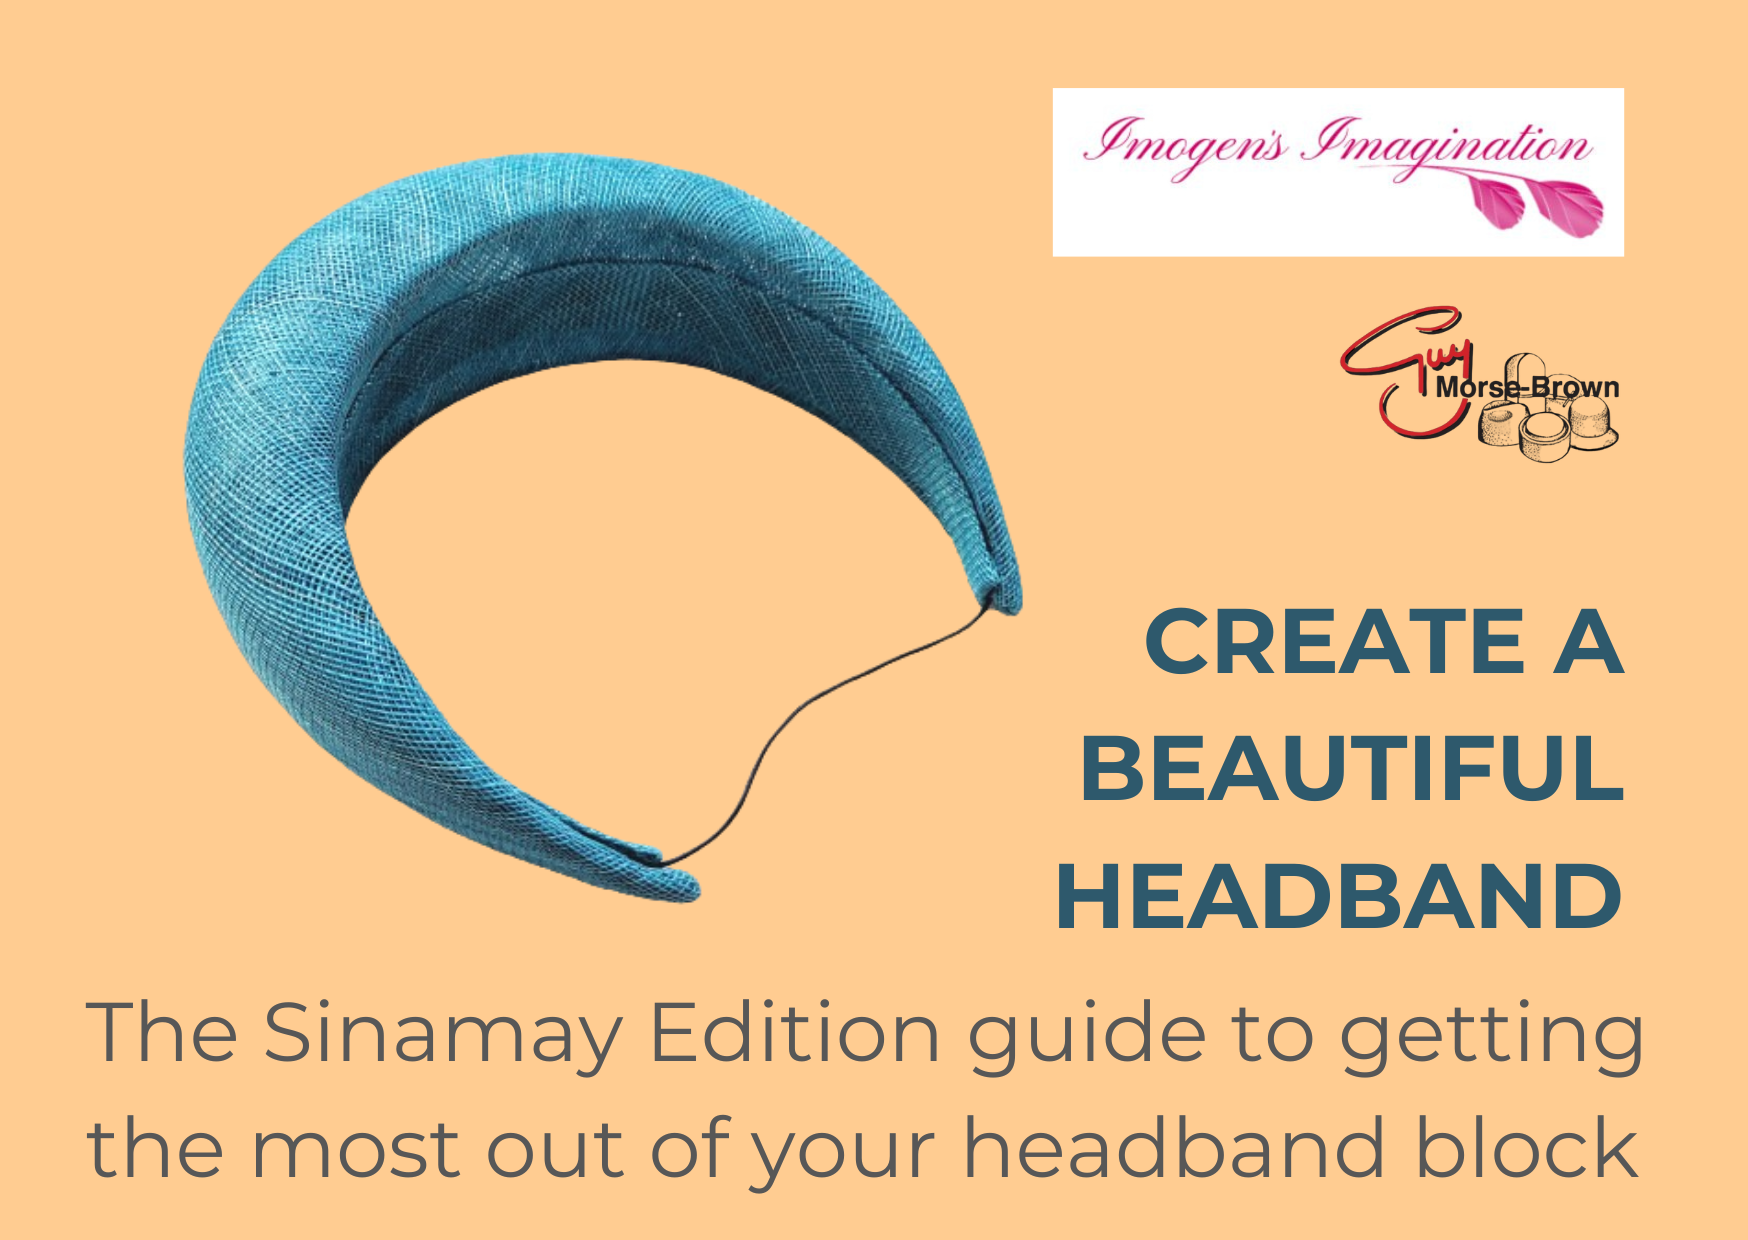
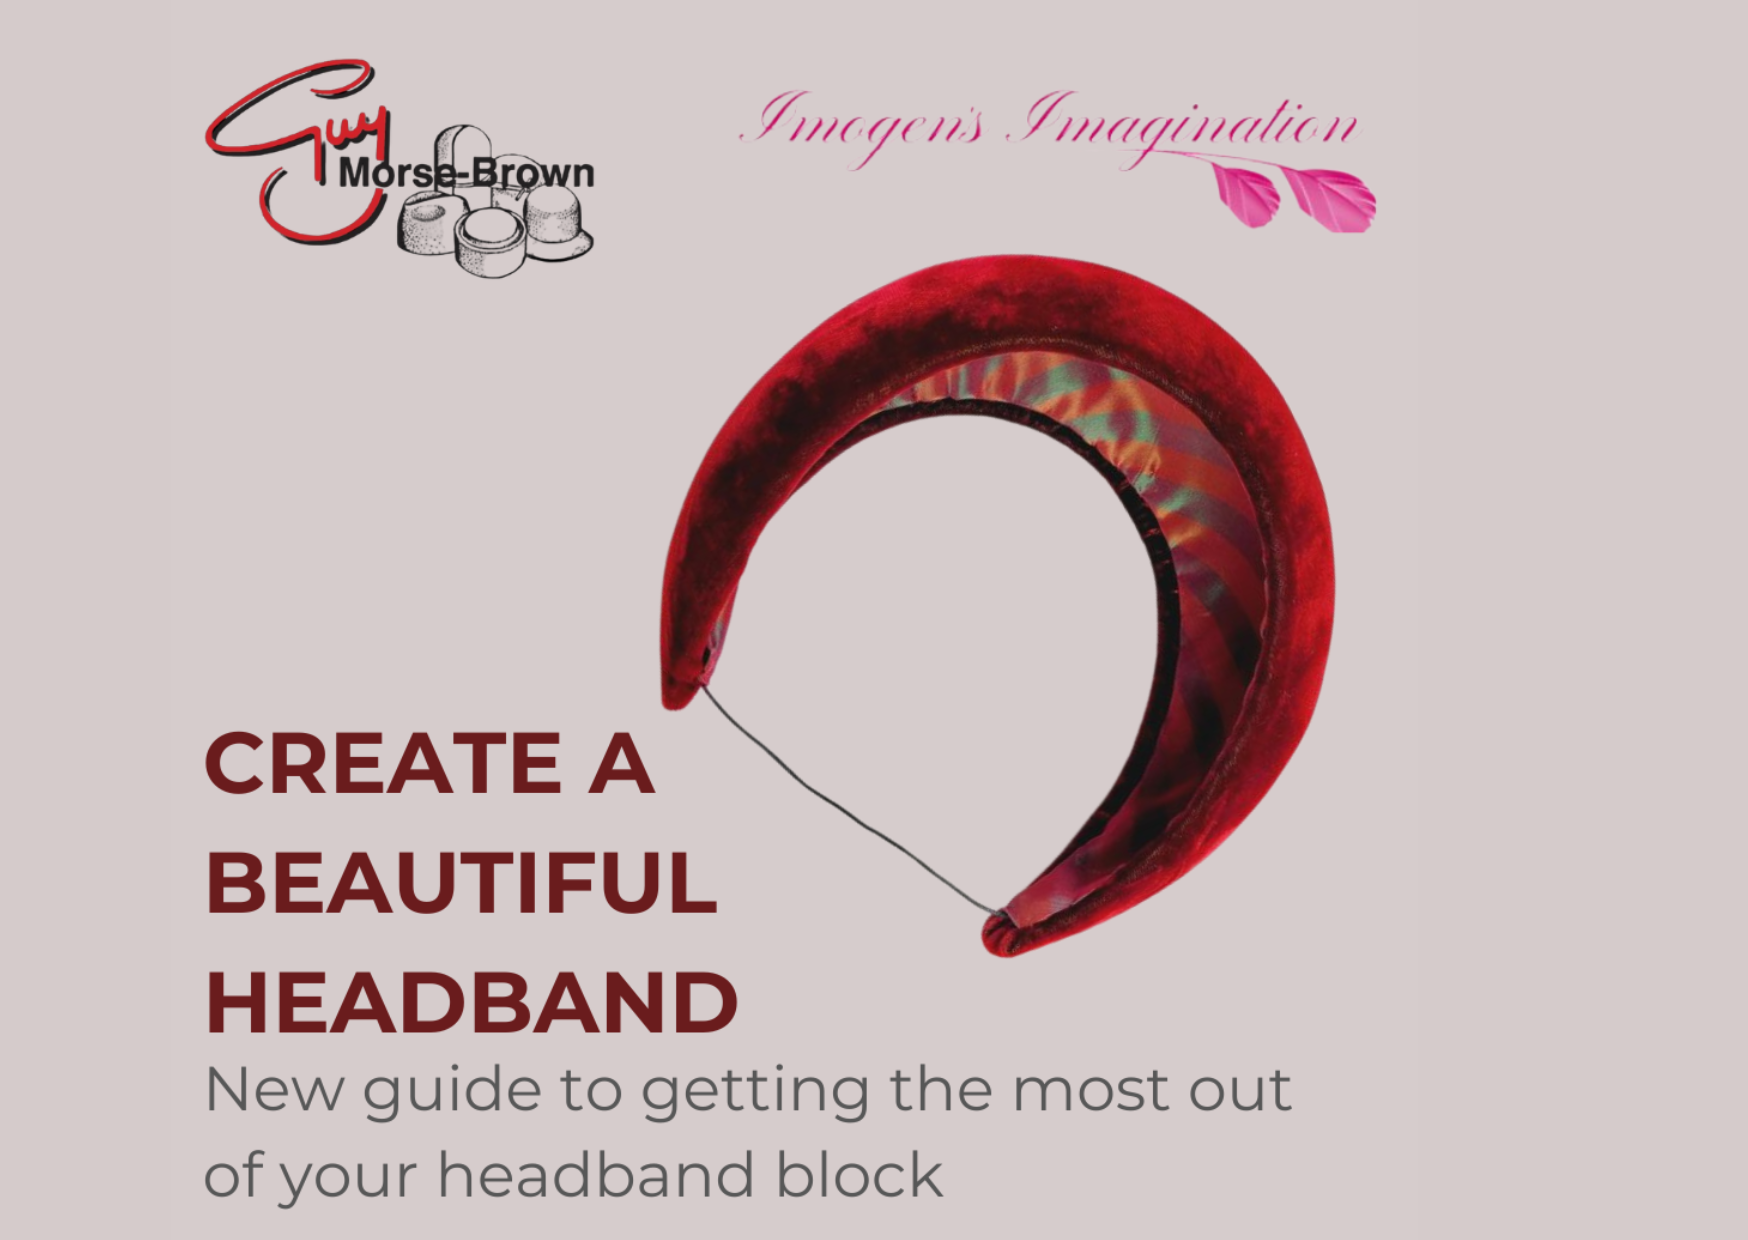
Read this guide to get the best out of your new headband block. This guide (the last of three) shows you how to block a headband with sinamay. The block in the guide is FB81.
We’re thankful to Sophie Cooke of Imogen’s Imagination who has generously shared her knowledge with you to help you create a beautiful headband.
We’ll be answering more of your questions soon! In the meantime if you’re looking for inspiration and millinery projects why not head over to HATalk? With this code GMB20 claim 20% off a new HATalk Subscription.
If you’re hoping to delve deeper and improve your skills then check out Hatcourses.com. There you will find a list of millinery and hat-making courses around the world and available teachers.
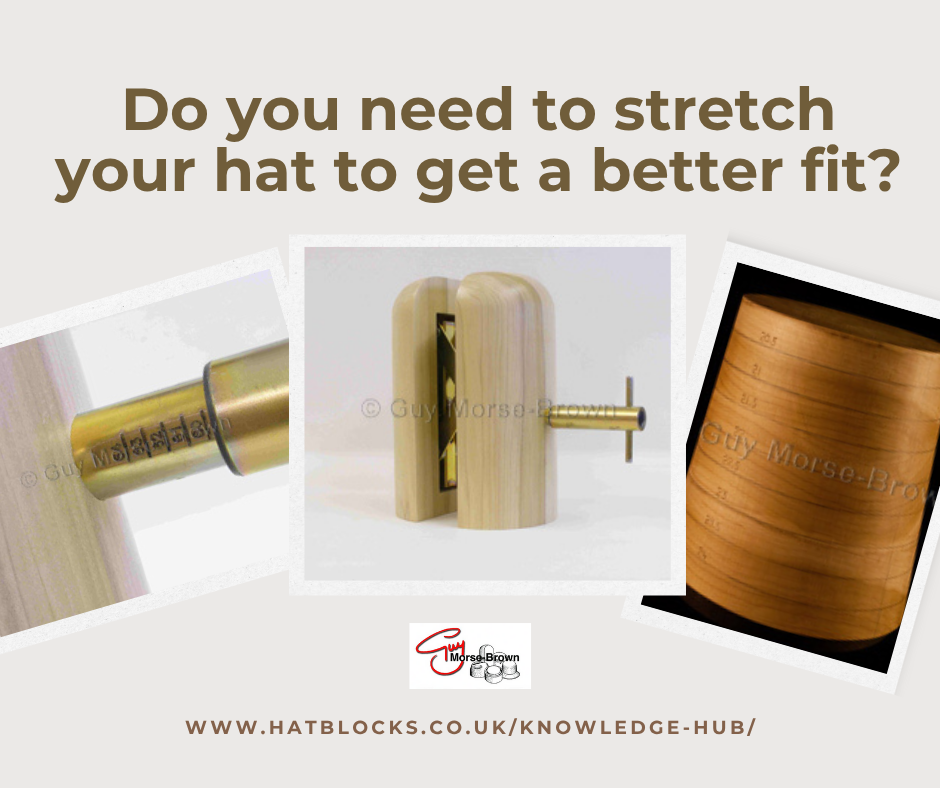
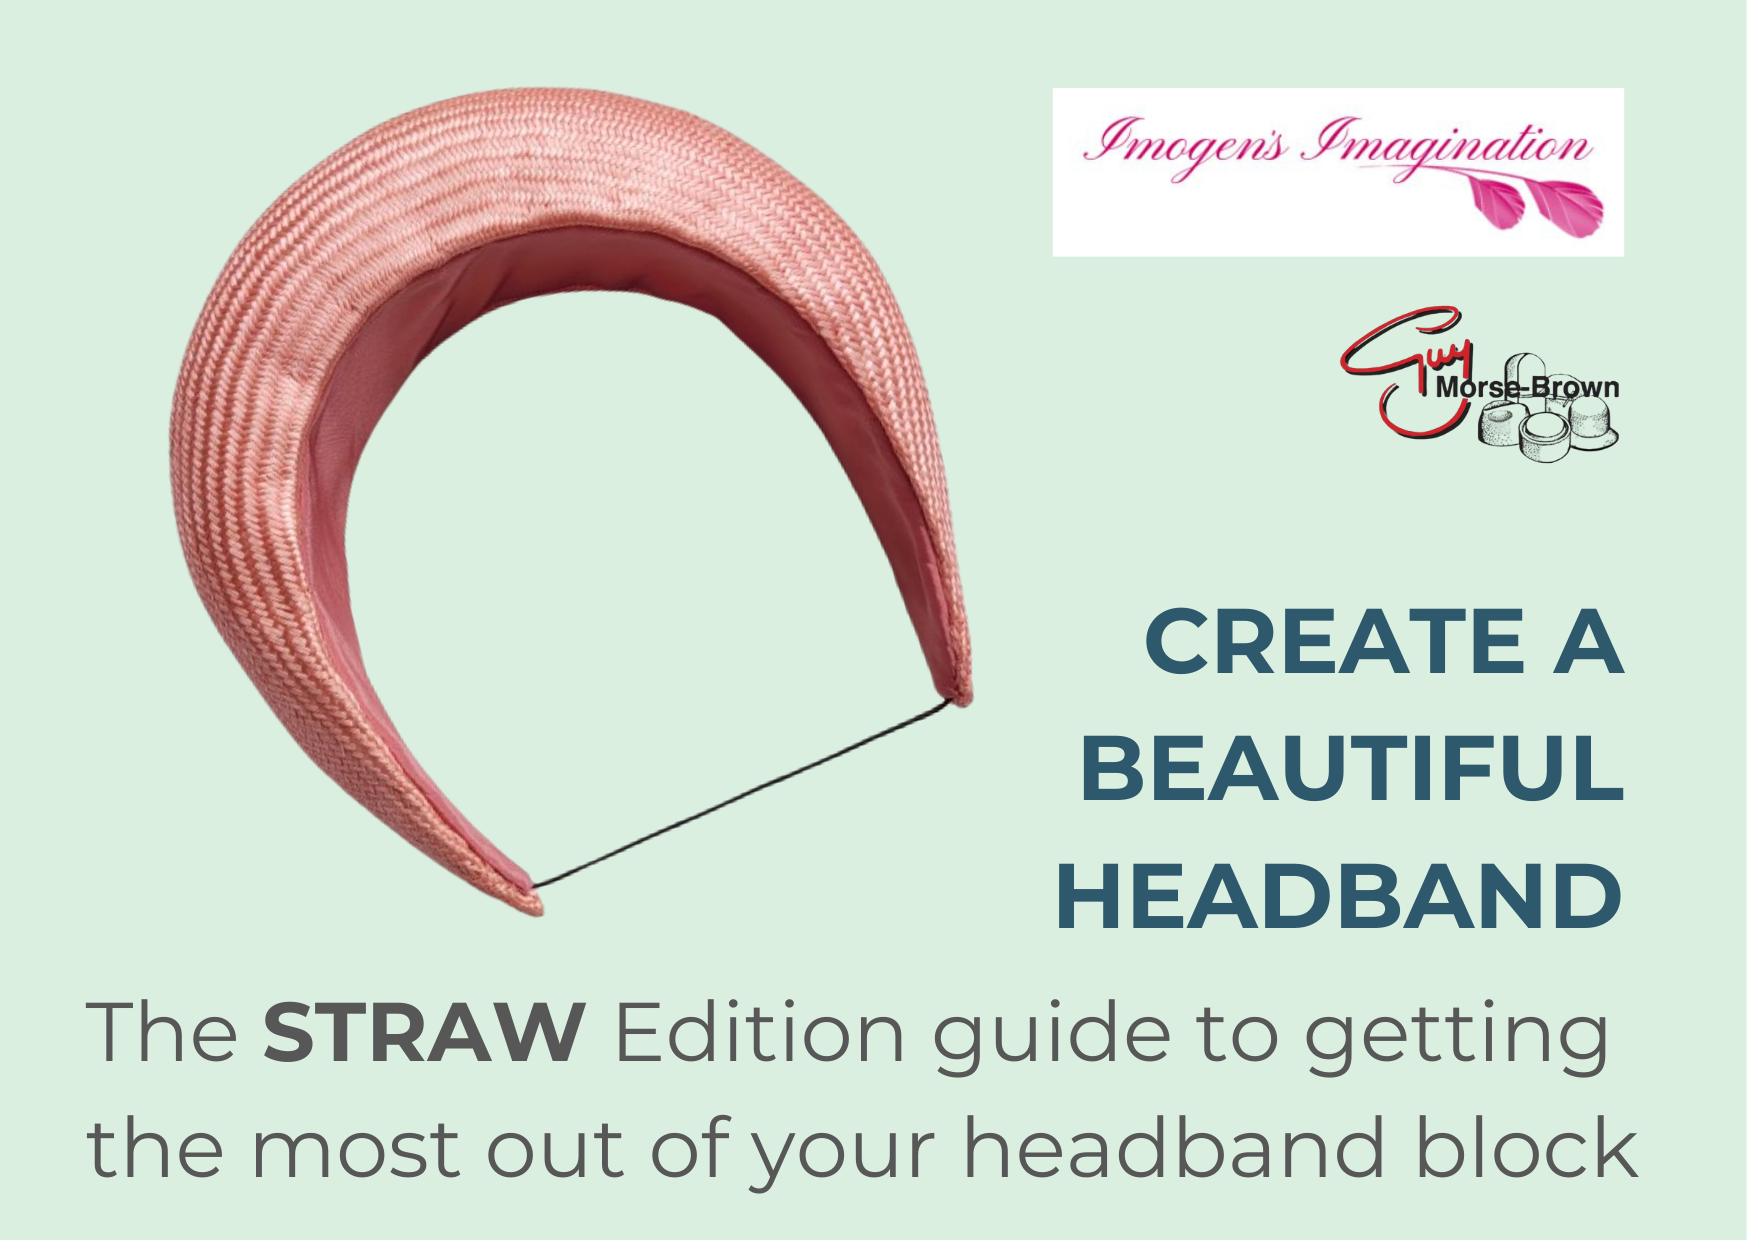
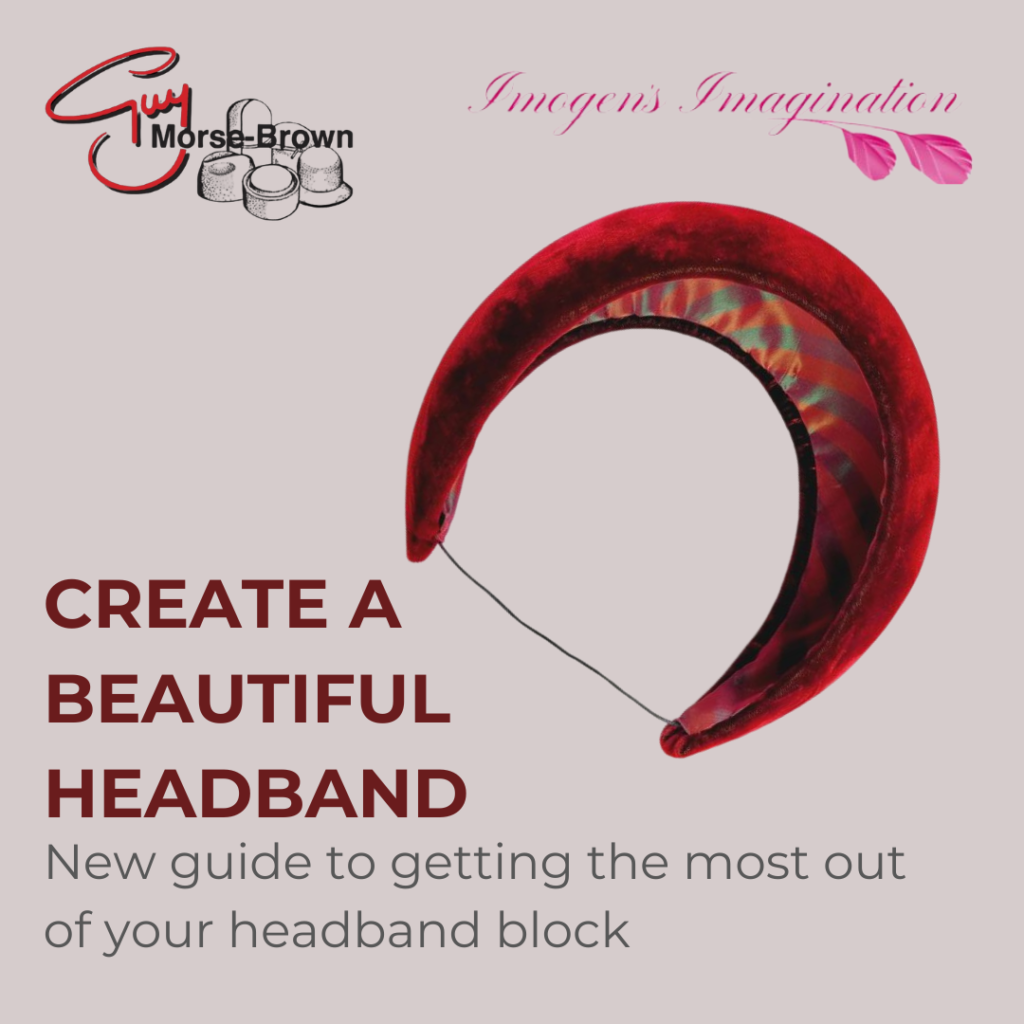
Read this guide to get the best out of your new headband block. This guide (the second of three) shows you how to block a headband with sinamay. The block in the guide is FB81.
We’re thankful to Sophie Cooke of Imogen’s Imagination who has generously shared her knowledge with you to help you create a beautiful headband.
We’ll be answering more of your questions soon! In the meantime if you’re looking for inspiration and millinery projects why not head over to HATalk? With this code GMB20 claim 20% off a new HATalk Subscription.
If you’re hoping to delve deeper and improve your skills then check out Hatcourses.com. There you will find a list of millinery and hat-making courses around the world and available teachers.
Read this guide to get the best out of your new headband block. This guide (the first of three) shows you how to block a headband with buckram and cover with fabric. The block in the guide is FB81.
We’re thankful to Sophie Cooke of Imogen’s Imagination who has generously shared her knowledge with you to help you create a beautiful headband.
We’ll be answering more of your questions soon! In the meantime if you’re looking for inspiration and millinery projects why not head over to HATalk? With this code GMB20 claim 20% off a new HATalk Subscription.
If you’re hoping to delve deeper and improve your skills then check out Hatcourses.com. There you will find a list of millinery and hat-making courses around the world and available teachers.
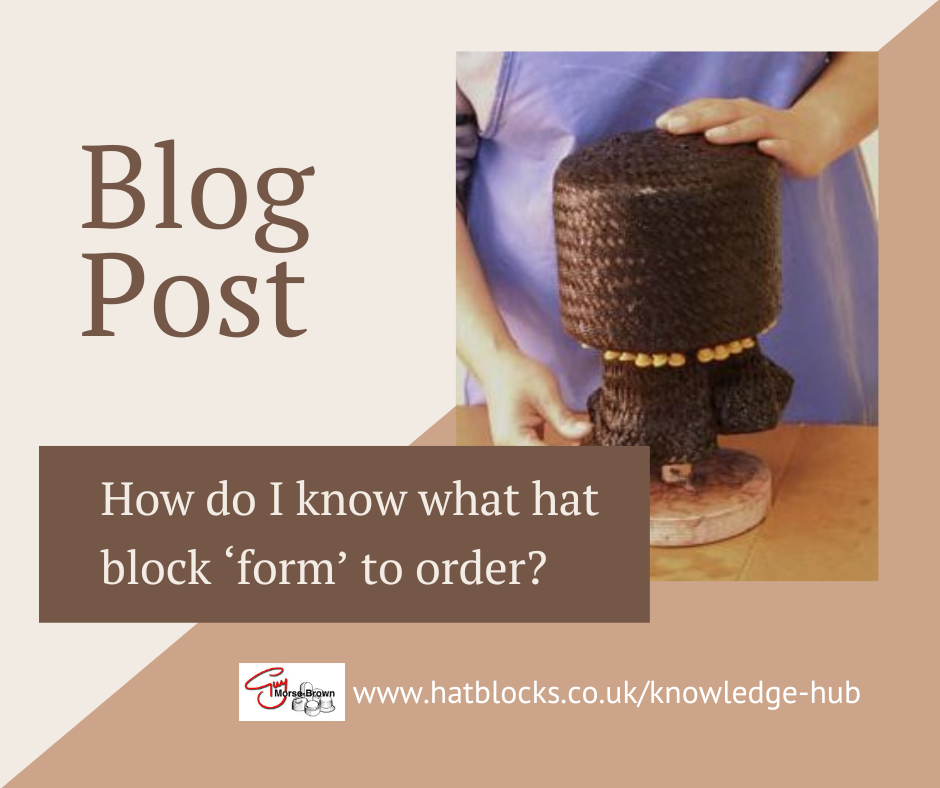
Can you explain to me a little about the differences in form? How do I know what hat block form to order?
When we refer to ‘form’, we are talking about the shape of the block at the headband of the crown. The form of the headband on the brim should not be confused with the outline. The outline can of course be cut to any shape you wish. Most milliners find that the Slim Oval form provides a good head fitting. Read on to find out a little more about the differences in hat block form.
Often the choice between the forms is really one of aesthetics. Broad Oval crown tips have a pleasant full shape, which is even more pronounced with the Circular form. Slim Oval provides the best head fitting. Even when using Broad Oval crowns, they would normally be fitted to a Slim Oval brim in order to give a comfortable fit. As such, brims are almost always made in the Slim Oval form.
I see Slim Oval, Long Oval, and Broad Oval referred to but I’ve heard terms like Oval 36 and don’t know what this is.
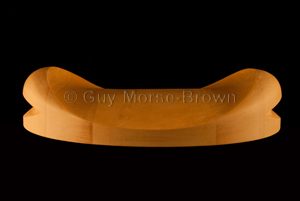
However, there’s more to know with regard to men’s hatting. This is because traditionally men’s hats are often stiffer and use heavier materials. Take the bowler hat for example, a hard felt hat and if the oval isn’t correct, it will be uncomfortable for the wearer. Hatters often use conformateurs to get the exact outline of the wearer’s head and then use a band block (CO3 as pictured below) to get the final shaping to match the customer’s head shape. Some hatters even order blocks in custom ovals for specific customers.
There are Long Ovals and sometimes ovals can be referred to by number, such as Oval 36 or Oval 50. When you see a hat block form named Oval 36 it means that the oval is 36mm longer than it is wide, for example.
This article was written for HATalk and was published in April 2023.
We’ll be answering more of your questions soon! In the meantime if you’re looking for inspiration and millinery projects why not head over to HATalk? With this code GMB20 claim 20% off a new HATalk Subscription.
If you’re hoping to delve deeper and improve your skills then check out Hatcourses.com. There you will find a list of millinery and hat-making courses around the world and available teachers.
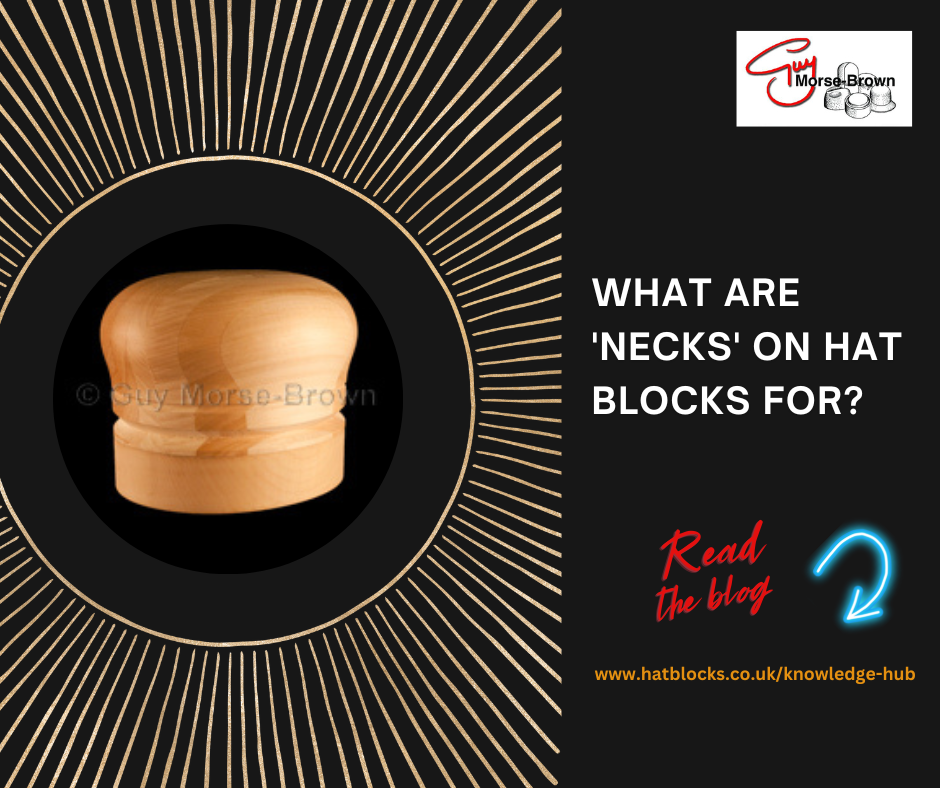
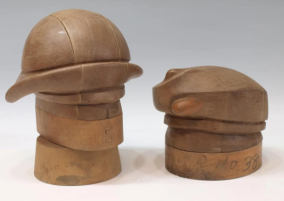
I notice that some hat blocks have ‘necks’. Why is that and what are they for?
Some of the smaller perching beret hat blocks and some cloche blocks have a hollowed underside to allow you to block the material and then fold up inside the hollow and pin to allow you to create a neat finish to your bottom edge.
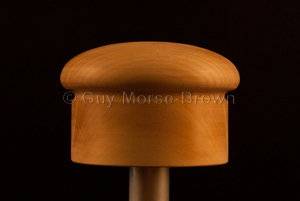
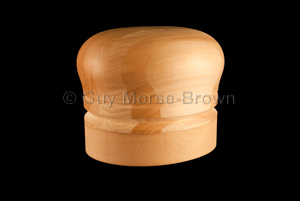
An alternative to the hollowed base on hat blocks is the American-style block with a ‘neck’. When using the FB1A block (pictured below) tie string into the small groove at the base of the shape. Once blocked and dry you can then sew the ribbon just below the fold line. On smaller button hat blocks of this style sewing the ribbon at this stage is much simpler and less fiddly.
After sewing the ribbon in place you can now flip the ‘neck’ inside. This is a good option where the size of the block does not allow the base to be hollowed easily but is also a great technique on any similar shape of any size.
The CB294F below is a puzzle block to help you remove the blocked hat easily, as the block dismantles inside the blocked hat. It’s worth noting that if you are blocking this shape in felt and tucking under, we recommend you request the size 2cm / 3/4″ larger than the head size to allow for this.
Telescopic and Puzzle Blocks with ‘necks’
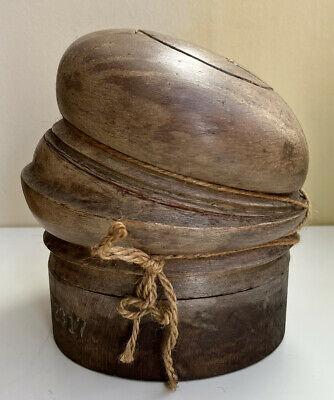
You will also see plenty of vintage 3D / telescopic puzzle blocks that have a ‘neck’. Note that on these style blocks the size is measured around the neck at the bottom, when the felt is folded inside, this is the head fitting.
We’ll be answering more of your questions soon, in the meantime if you’re looking for inspiration and millinery projects why not head over to HATalk? With this code GMB20 claim 20% off a new HATalk Subscription.
If you’re hoping to delve deeper and improve your skills then check out Hatcourses.com – which houses a list of millinery and hat-making courses around the world and available teachers.
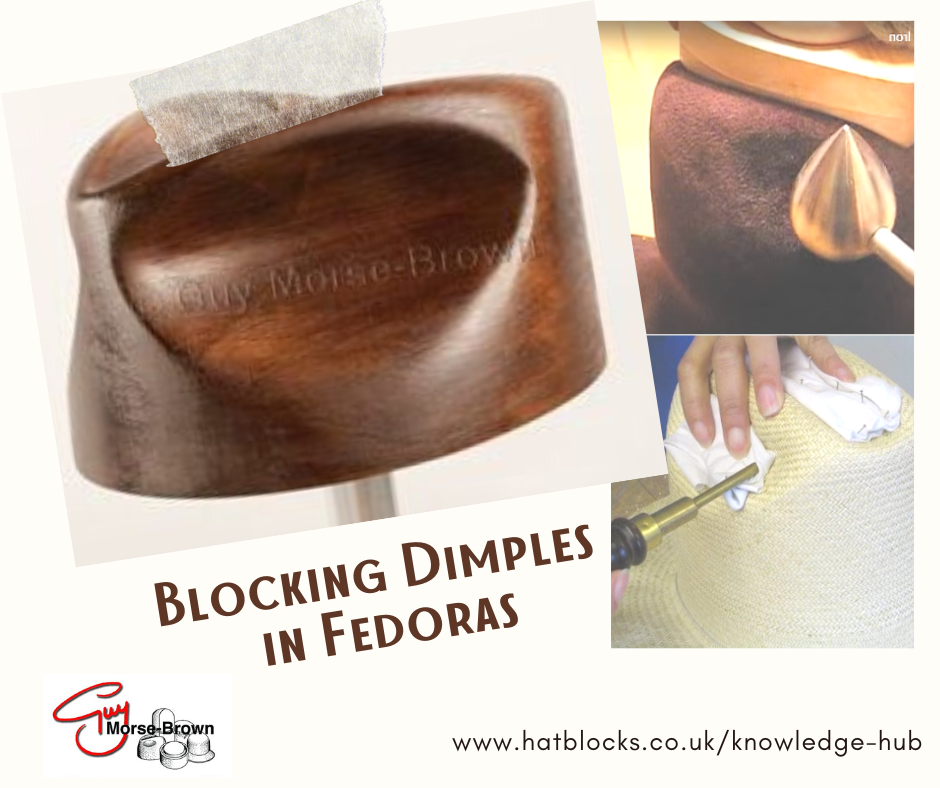
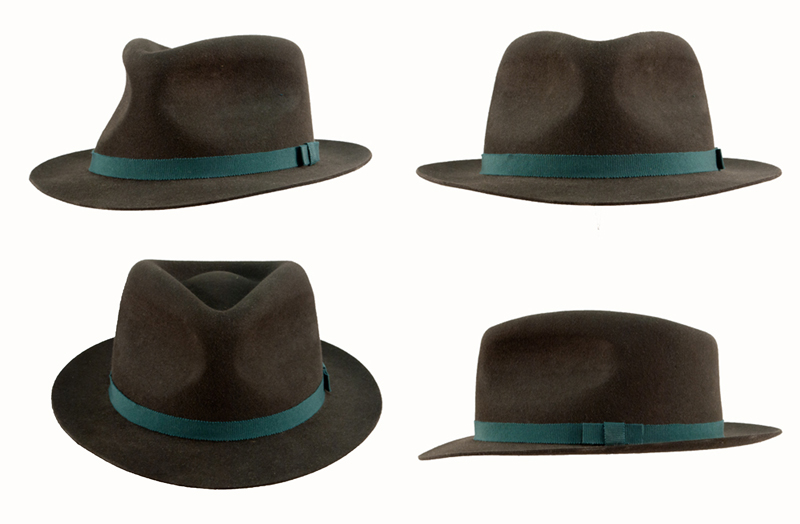
I have a fedora-style hat block with dimples already carved into the block. How do I get my material to take the shape of dimples in the hat block?
Get your material to take the shape of the fedora dimples in your hat block by considering the following. When tackling shaped fedora or trilby blocks with dimples, then it’s a good idea to block on a surface which is slightly lower than normal so you can add your body weight to the process!
This is particularly useful if you’re using heavier men’s felts or wool felts (which are trickier to block). You are also going to need plenty of steam, this will be key to your success.
At the first stage, once your material is most with steam and very hot push the felt down over the crown and persuade it into the dimples with firm strokes of your hands and then pin the material into the base of the crown block as usual. If blocking a fedora in one piece you will have pushed the blocked crown through the brim and pinned it.
Check the material, whether straw or felt, to see that it hasn’t dried out and if necessary, apply more steam.
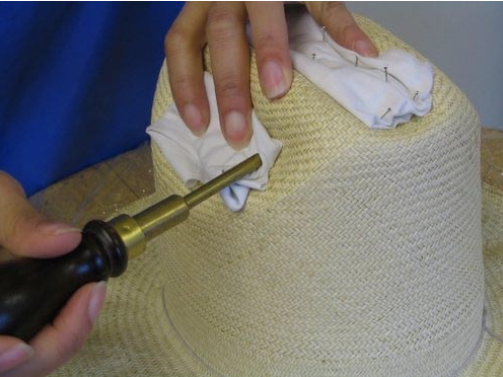
Roll up some scraps of cotton fabric into a rolled shape to fit the dimples. Press the roll into the dimple, load the pin pusher and pin through the fabric and straw into the block. Pin at either end, then in several places along the dimple, so that the fabric is held firmly in place against the block.
If the fabric tends to rise up the pin, allowing the straw to lift off the block, pin at an angle as shown. Use enough pins to hold the straw evenly against the block. Leave it to dry.
This technique works best with straw capelines. If you’re using felt then read on…
Another great way to get your material to take the shape of fedora dimples
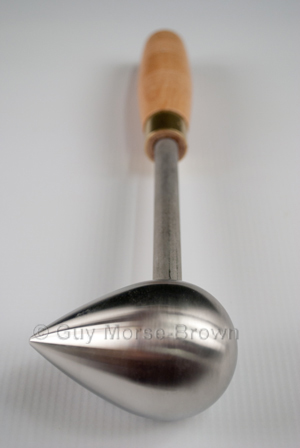
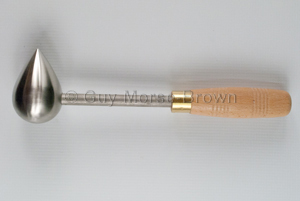
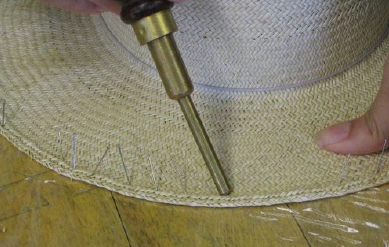
If your budget allows you could invest in an egg iron. Simply warm the egg in a flame or on a hot plate such as your kitchen hob or portable stove and away you go! You’ll find it invaluable for use with fedora dimples and valleys, but the pointed end will also fit well into sharper valleys found in pork pie styles. We made a short demo video of the egg iron in use:
We’ll be answering more of your questions soon, in the meantime if you’re looking for inspiration and millinery projects why not head over to HATalk? With this code GMB20 claim 20% off a new HATalk Subscription.
If you’re hoping to delve deeper and improve your skills then check out Hatcourses.com – which houses a list of millinery and hat-making courses around the world and available teachers.
Get your material to take the shape of the fedora dimples in your hat block easily with the help of our egg iron. You can find egg irons here:
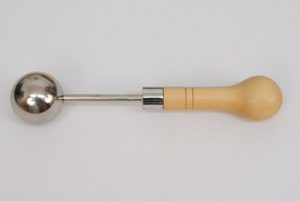
Stainless Steel Egg Iron
£80.00
An egg iron is used for helping to shape and smooth felt into hollow areas of a block such as a trilby or fedora. Our egg irons are of superior quality being made of stainless steel that will not rust or corrode, giving you years of trouble and maintenance free service. Simply warm the egg in a flame such as your kitchen hob or portable stove and away you go. You’ll find it invaluable for use with trilby dimples and valleys but the pointed end (which isn’t sharp) will also fit well into sharper valleys such as pork pies.
STAINLESS STEEL MEANS RUST FREE – NO MORE MARKS ON YOUR FELT. NOT YOUR AVERAGE EGG IRON!
Ex VAT £80
If you are not ordering blocks as well, this product can be purchased by clicking “add to cart”. Otherwise, please click “add to quote” to add it to your block quote.
I notice that some hat blocks have string grooves/rope lines and some don’t. How do I know if my hat block needs one or not?
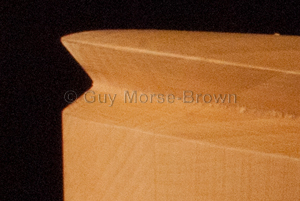
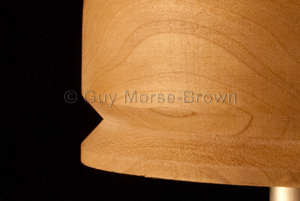
String grooves are sometimes referred to as rope lines. Whether a block has a string groove or not is often down to preferred methods and techniques of working. Nowadays string grooves are seen more frequently and offered as an extra. Sometimes they are included as a standard with the block maker. There are some things to consider when deciding if your hat block needs a string goove.
When are string grooves useful?
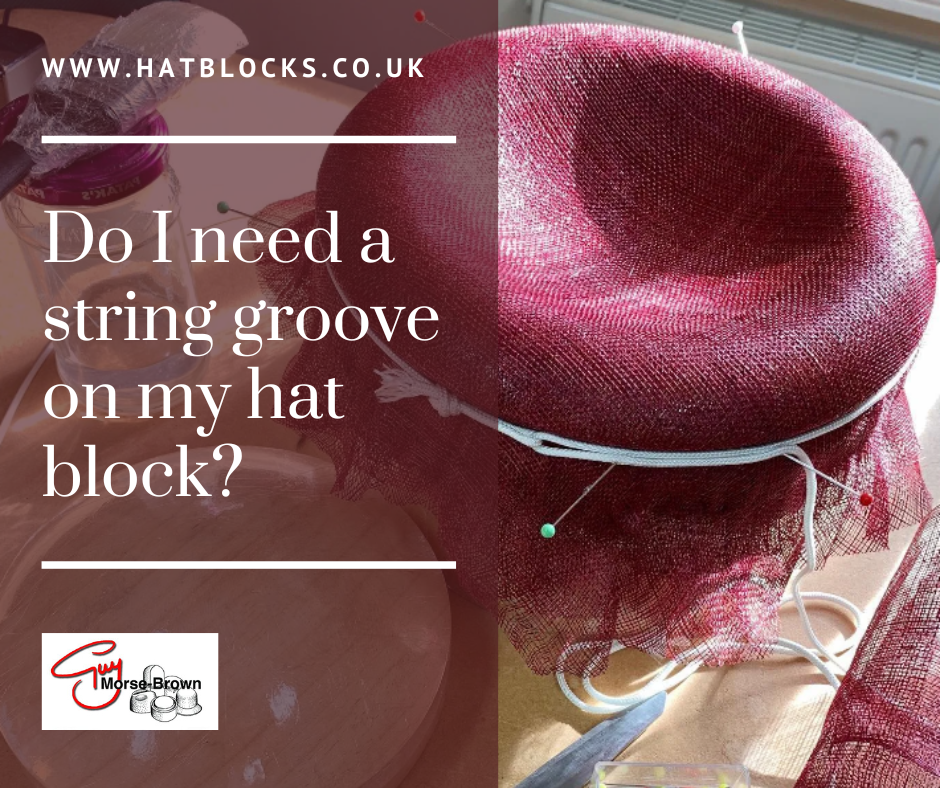
They are particularly useful and time efficient when blocking large brims and saucer-style hats. As with a lot of millinery techniques, pinning the bigger brims is very time-consuming. By tying blocking string/cord into a string groove and securing it with a pin you can save both your time and your stash of pins.
Take a look at this picture on the left. Take your saucer blocks and cover it with sinamay. Once you’ve got the material over the shape of the block tie the string firmly into the string groove. Next, secure the string with a few pins. Finally, if the block has a presser like the one pictured, put that in place with weights on top and leave it to dry.
Why do some hat blocks have multiple string grooves?
Some vintage hat blocks, particularly the complex puzzle blocks have multiple string grooves. In this case, the grooves allow the dried felt to be folded and manipulated and sometimes collapsed concertina style into the finished shape. After removing the blocked felt from the puzzle blocks the lines would either serve as a folding guide or leave a marked feature in the material.
Some 3D blocks also have more than one string groove. The CB191F pictured has a small groove at the bottom of the main shape followed by a ‘gap’ and then a standard string groove. If you tie into both grooves and cut off at the lower one, the resulting neck will flip up inside the top section of the hat and disappear from sight. You can even sew on your ribbon before flipping it up inside, which is very convenient!
Some hat blocks have string grooves included as standard, if you’re unsure ask us!
We’ll be answering more of your questions soon, in the meantime if you’re looking for inspiration and millinery projects why not head over to HATalk? With this code GMB20 claim 20% off a new HATalk Subscription.
If you’re hoping to delve deeper and improve your skills then check out Hatcourses.com – which houses a list of millinery and hat-making courses around the world and available teachers.
You can find blocking string in our webshop:
Blocking String
£2.50
Great for string grooves and crown bases. 2mm diameter and sold in 5 metre lengths.
Ex VAT £2.50
If you are not ordering blocks as well, this product can be purchased by clicking “add to cart”. Otherwise, please click “add to quote” to add it to your block quote.
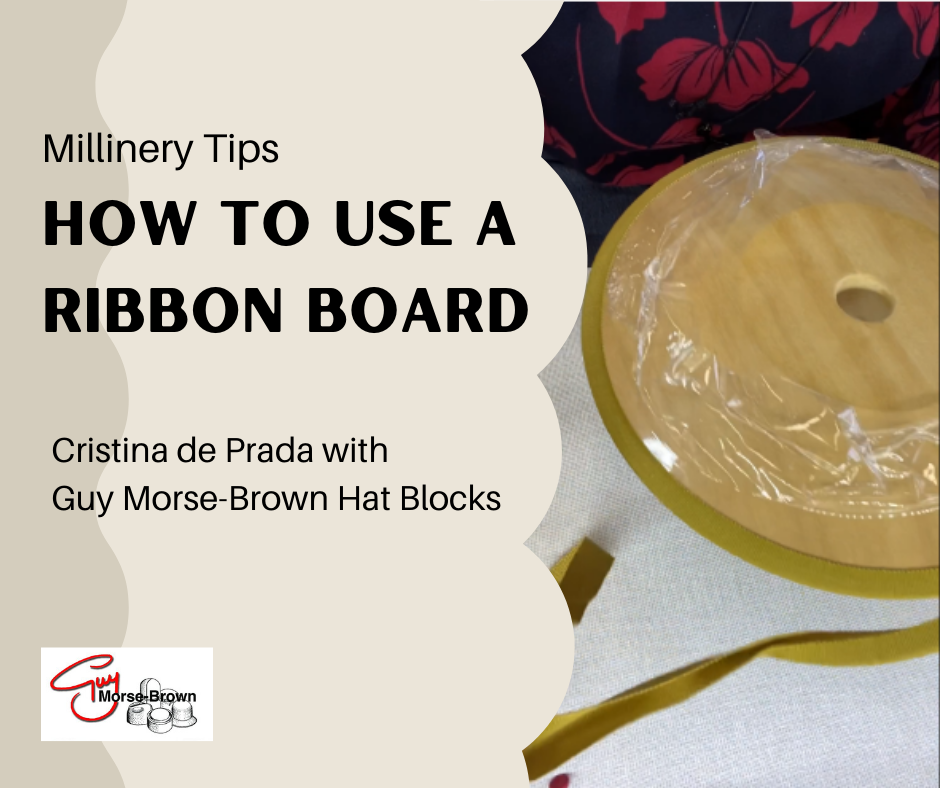
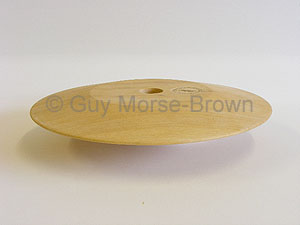
A ribbon board is a must-have piece of equipment for the millinery workroom. It is primarily used for shaping Petersham ribbon or bias fabric so that it will fit round the edge of a brim without wrinkling. This allows you to make perfect bindings for your hats every time! In this blog post you will learn how to use a milliner’s ribbon board.
In the video below, you will see milliner Cristina de Prada demonstrate this technique for you. Check out Cristina de Prada on Instagram and Facebook.
Instructions on how to use the milliner’s ribbon board.
Firstly make a small cut along the centre of the ribbon (about a centimetre long). Secondly, spray the ribbon with water to dampen it. Once wet, secure the ribbon over the edge of the ribbon board and pin it into place with two pins angled towards the centre of the board.
Next, wrap the ribbon around the edge of the board continuously. Make the ribbon taut as you go around until your required length is formed. Then secure the end with pins as before. You should allow a little extra length so that you can cut off the two ends marked by the pins.
Lastly, when the ribbons are dry unpin and the binding from the board. Now you’re ready to sew your binding on your hat brim. The easiest way to hold the board is on your lap while seated.
We’ll be answering more of your questions soon, in the meantime if you’re looking for inspiration and millinery projects why not head over to HATalk? With this code GMB20 claim 20% off a new HATalk Subscription.
If you’re hoping to delve deeper and improve your skills then check out Hatcourses.com – which houses a list of millinery and hat making courses around the world and available teachers.
Wooden hat blocks are not cheap and so you have probably wondered what is the best way to take care of your hat blocks? It is wise to look after your blocks as then they will serve you well for many years! Your hat blocks have been carefully made from kiln-dried timber. However, timber is a natural material, which is affected by changes in temperature and humidity.
In use, blocks go from being dry to be being wet and from being cold to being heated by steam. They are tools! Over time, it is very normal to have cracks here and there because of these conditions but unless the block falls apart it will remain totally useable. We regularly see many old blocks like this.
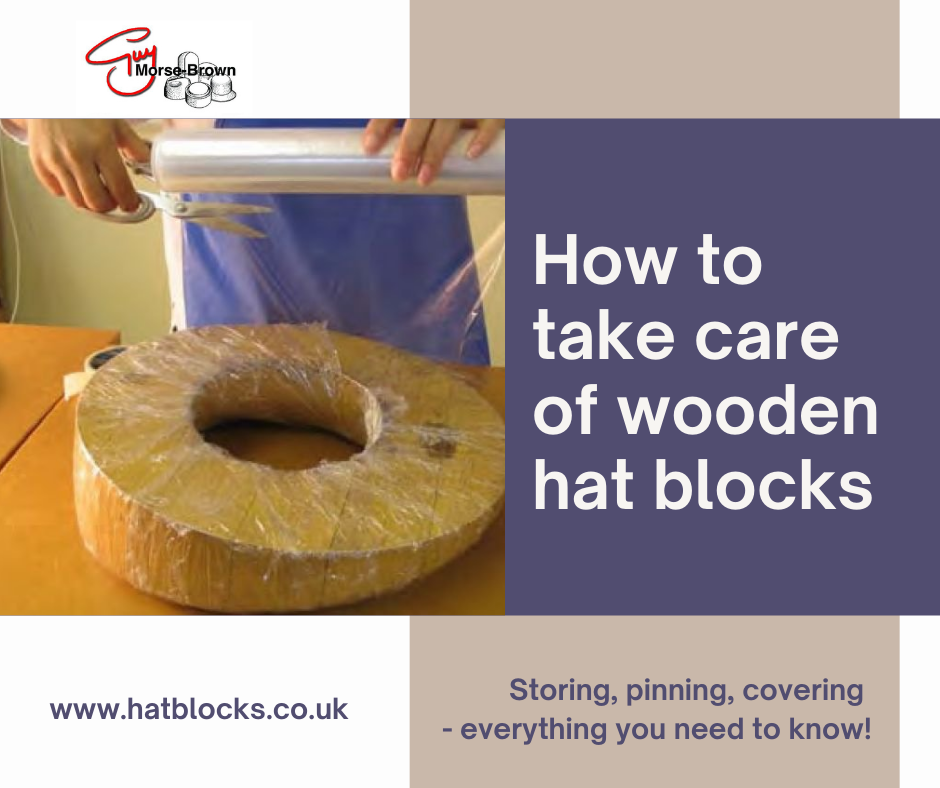
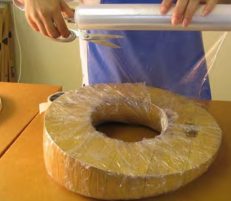
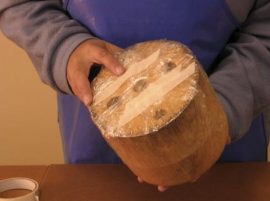
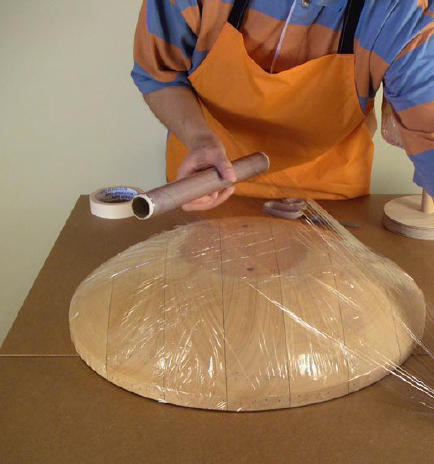
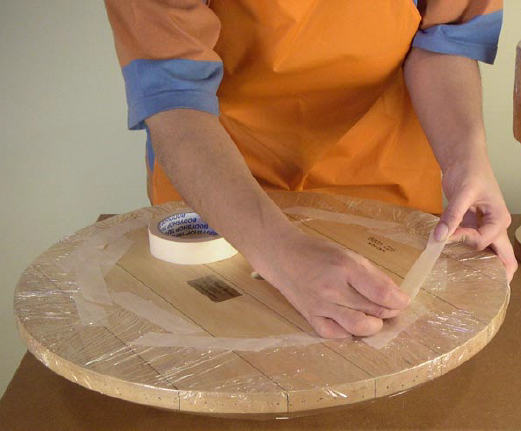
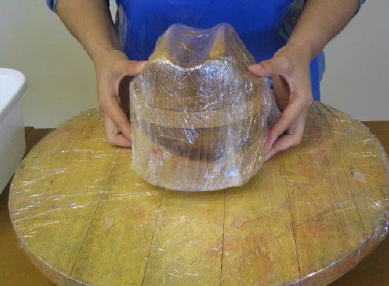
Firstly, we suggest that you always protect your block from moisture and possible colour transfer from wet fabrics. The best way you can care for your hat block is by covering it with cling film or a thin polythene sheet before use. Some milliners use tin foil. Use masking tape to hold the film in place. Don’t use coverings more than once. If blocks do get stained by dye, don’t try and remove this – just make a better job of covering them next time, and your fabrics will not be affected.
Do I need to oil my hat blocks?
We often get asked this from our customers in the USA. The answer is no, you don’t need to oil them. There isn’t really anything you need to do to your blocks, many old blocks were not varnished or oiled at all because they preferred that the wood would draw the moisture out of the felt. The best way to protect them during use is to cover them well with cling film or similar as mentioned above. As far as possible, keep your blocks where they will not experience big changes in temperature or humidity as these may cause some warping. However, because of the way blocks are made, it is not usually enough to really affect the shape.
When pinning fabric into hat blocks.
Next, we want to make a note about using pins – a vital part of the hat-making process! Try to use pins that are the same fine gauge as dressmaker’s pins. They are kinder to your hat blocks and far superior to both chart pins and drawing pins.
When pinning fabric inside a hollowed base pill-box block, it is advisable to place the pin as deep as possible in order to prevent damage to the rim of the block.
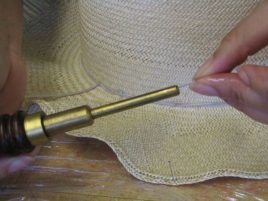
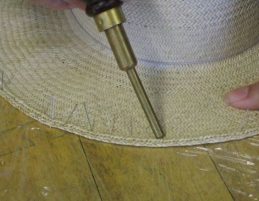
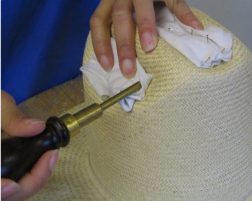
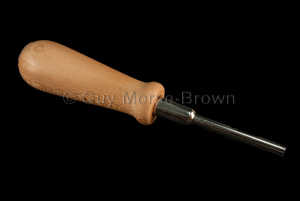
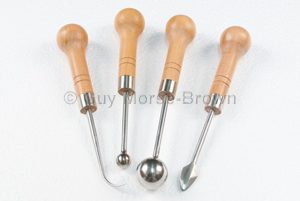
Pin into the hollow. While blocking pins are excellent for almost all blocking situations, straight pins are sometimes needed for thicker fabric or when blocking dimples in blocks. Pin Pushers are ingenious tools. They have a place among the astute milliner’s tool kit and are in fact indispensable in some blocking situations. The pin pusher’s wooden handle fits comfortably into the hand and the metal tube into which the dressmaker’s pin is dropped, head first, has a magnet at the bottom. This holds the pin inside so that it does not fall out, whatever the angle of the tool. Dressmaker’s pins are hard to press into wooden blocks by hand and a thimble can be awkward to use, as it easily slips off the pinhead. A pin pusher gives you extra mechanical power!
What’s the best way to store hat blocks?
When not in use, your block should be kept in a cool and dry environment. More importantly, store your hat blocks away from any direct heat source and sunlight.
Our workshop is around 18 degrees and the humidity would be usually around 60%. These would be ideal conditions however, humidity is more crucial than temperature. If it’s very dry then the wood will crack regardless of temperature. We would not advise placing blocks above or anywhere near a radiator because the air around it will be very dry. Try to keep them away from extremes of temperature and humidity. Modern houses do tend to be very dry so bear this in mind.
You can find the pins and Pin Pushers in our webshop:
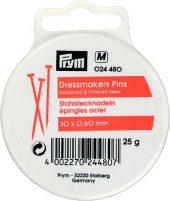
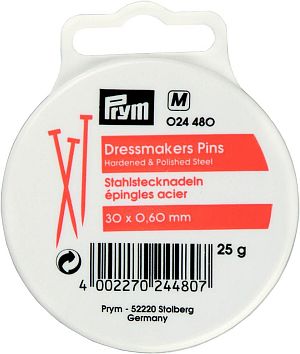
DM Pins – Prym Dressmaker Pins
£3.54
Prym Narrow Gauage Dressmakers Pins: Hardened and Polished Steel – Size 30 x 0.60 mm – 25 g
Ex VAT £3.54
If you are not ordering blocks as well, this product can be purchased by clicking “add to cart”. Otherwise, please click “add to quote” to add it to your block quote.
£70.83View product
This product has multiple variants. The options may be chosen on the product page
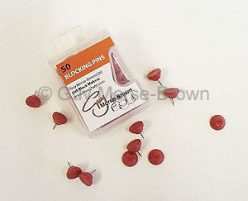
BP1 – Blocking Pins
£4.79
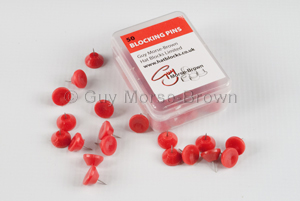
Pinning the fabric to the block can be hard on the fingers. But not anymore! Our blocking pins have large plastic heads, making it easy to push them in and take them out again. The pins are the same gauge as dressmaker’s pins and will bend rather than break. Kinder to your fingers and to your block. Far superior to both chart pins and drawing pins.
Ex VAT £4.79
If you are not ordering blocks as well, this product can be purchased by clicking “add to cart”. Otherwise, please click “add to quote” to add it to your block quote.
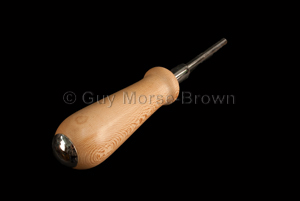
Pin Pushers are ingenious tools. They have a place among the astute milliner’s tool kit and are in fact indispensable in some blocking situations. The pin pusher’s wooden handle fits comfortably into the hand and the metal tube into which the dressmaker’s pin is dropped, head first, has a magnet at the bottom. This holds the pin inside so that it does not fall out, whatever the angle of the tool. Dressmaker’s pins are hard to press into wooden blocks by hand and a thimble can be awkward to use, as it easily slips off the pinhead. A pin pusher gives you extra mechanical power!
Ex VAT £15.83
If you are not ordering blocks as well, this product can be purchased by clicking “add to cart”. Otherwise, please click “add to quote” to add it to your block quote.
We’ll be answering more of your questions soon, in the meantime if you’re looking for inspiration and millinery projects why not head over to HATalk? With this code GMB20 claim 20% off a new HATalk Subscription.
If you’re hoping to delve deeper and improve your skills then check out Hatcourses.com – which houses a list of millinery and hat making courses around the world and available teachers.
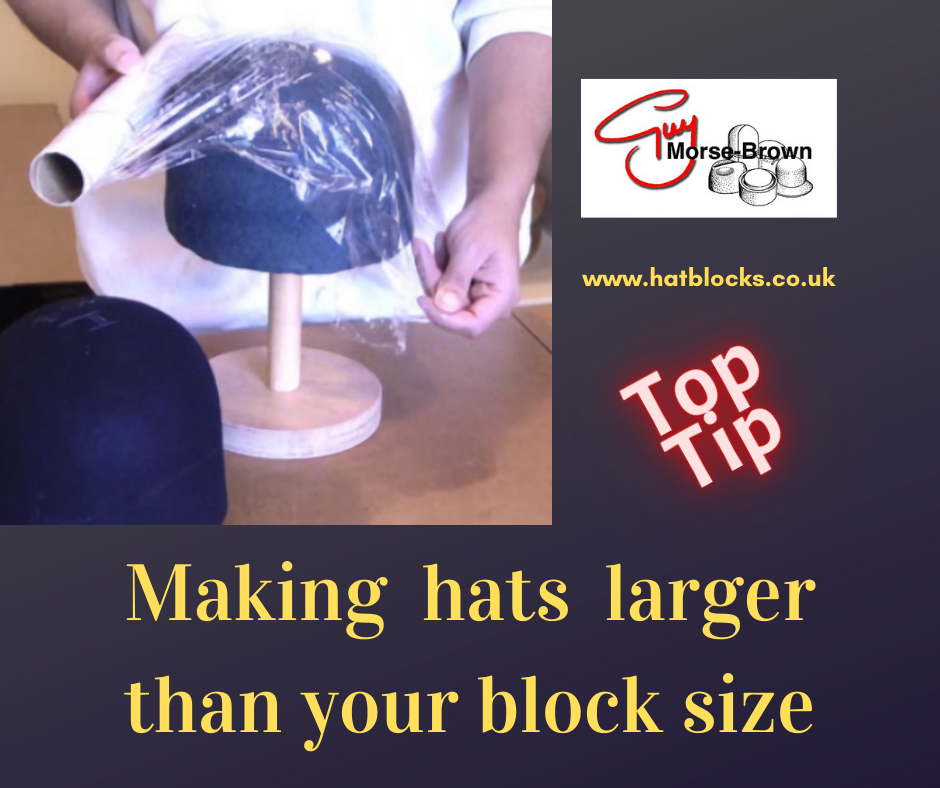
Can I make a hat bigger than the head size of my hat blocks?
Sometimes you get asked to make a hat for a head that is bigger than the blocks you own. To make hats in a larger size is possible. You can do this by ‘double blocking’.
Double Blocking a Crown Block
Firstly, you need either an old felt capeline or an old felt hat with a wide brim. If using an old felt hat, strip off any trimming, inner headbands, and wiring. TIP: If it’s marked with glue patches then turn it inside out before proceeding.
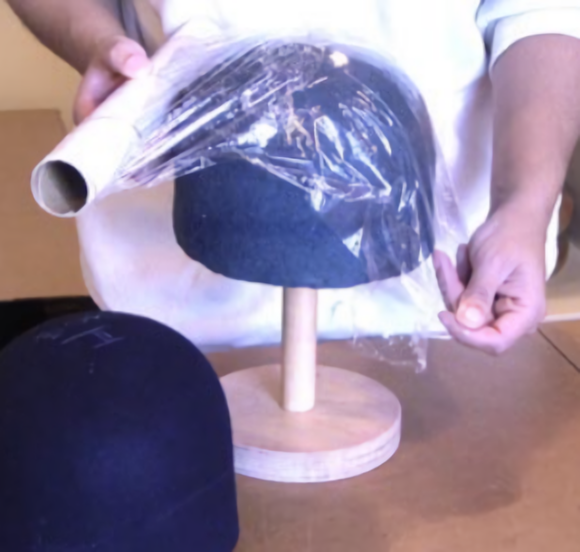
Next, get the crown block you’re going to use and cover with clingfilm/saran wrap just as you would if blocking a hat.
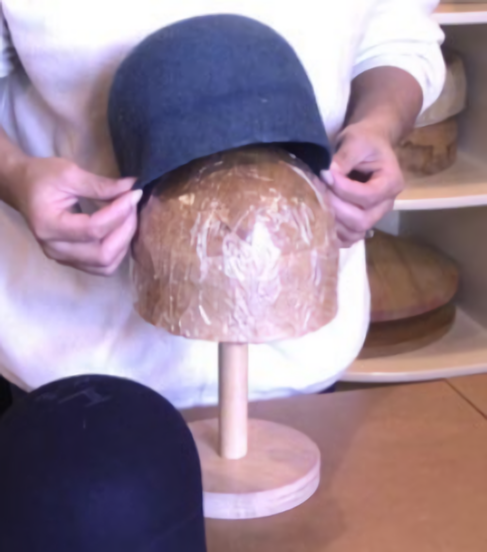
Take the old hat or felt capeline and block it over the prepared block. Leave it to dry and trim off the excess felt. Before removing it from the block mark the felt Centre Front (CF) and Back CB) with a Chinagraph pencil and a block reference.
If you want to make the block larger still mark the first felt #1 and cover with clingfilm/saran wrap as before. Now block another old felt capeline or hat over the top and allow it to dry. Trim any excess off as before and mark CF and CB as above and #2 to remind you.
You can do this up to three times, but the definition of the shape gets lost, depending on how much shape and what features are already in the block. Also, the padding becomes too thick to hold pins in the wooden block beneath, during blocking. We wouldn’t recommend using this technique on trilby or fedora crowns with dimples for this reason.
Finally, block your new capeline over the clingfilm/saran wrap covered padded block in the usual way.
**The felts you have may vary in thickness but as a useful guide for every 1mm thickness of felt padding, you will add ¼” to the head size.**
Double Blocking a Down-turned Brim Block
To increase the size of a down-turned brim block you can use a larger collar size than your brim. Fix the larger collar to the brim, cover in clingfilm/saran wrap and block as usual.
How do I increase the size of an Up-turned Brim Block?
You cannot make an up-turned brim block bigger in head size. You can overcome this by stretching the brim after you have taken it off the block. Dampen the fabric at the headband and stretch it gently over a collar of the required size, or you can use a graded Stretcher Block if you have one.
We’ll be answering more of your questions soon, in the meantime if you’re looking for inspiration and millinery projects why not head over to HATalk? With this code GMB20 claim 20% off a new HATalk Subscription.
If you’re hoping to delve deeper and improve your skills then check out Hatcourses.com – which houses a list of millinery and hat making courses around the world and available teachers.
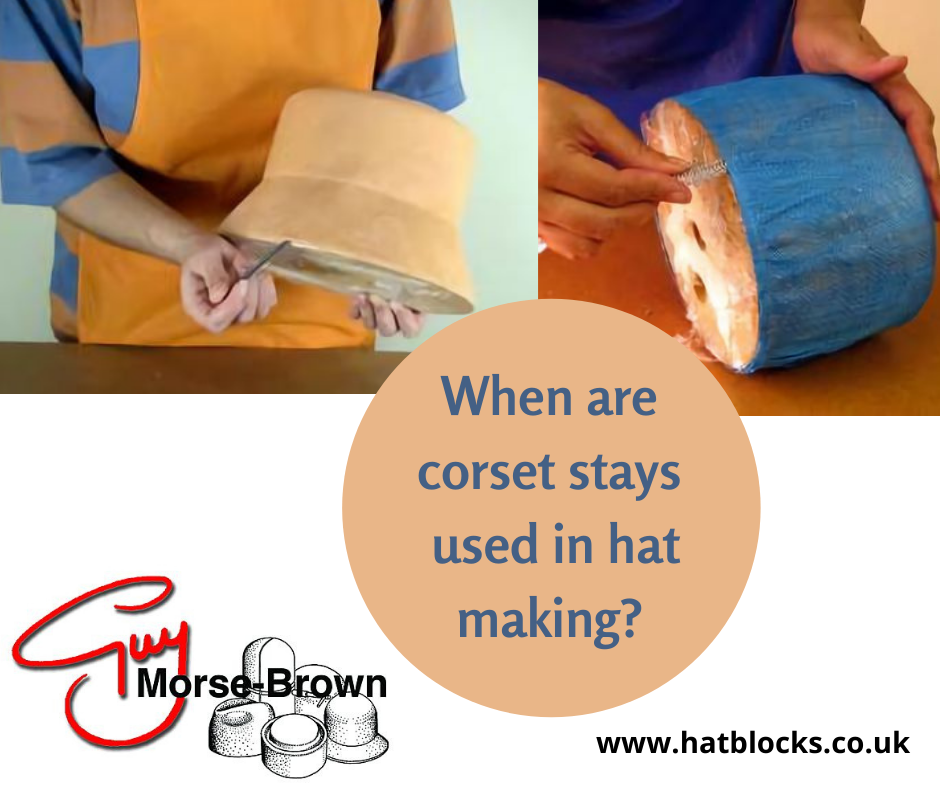
It could be hard to make the connection if you have never tried to take a blocked crown or brim off a hat block after stiffening and drying!
A corset stay (the type which looks like a flattened wire spring) is ideal for removing blocked hats off their blocks. They have smooth ends hammered onto them which will not damage the hat fabric. Such stays bend in all directions yet remain stiff. Firstly insert the corset stay between the cling film covering the block and the hat fabric. Then, move it up and down to loosen the material and enable you to take your blocked shape off without damaging it. Very helpful indeed!
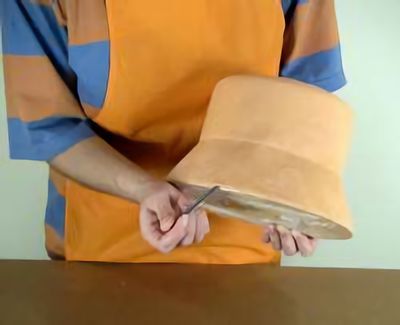
Here is a corset stay in use with a felt cloche hat. Notice the corset stay pushing up beyond the ‘waist’ of the felt cloche. Work your way around the block, pushing the corset stay up as high as it can go.
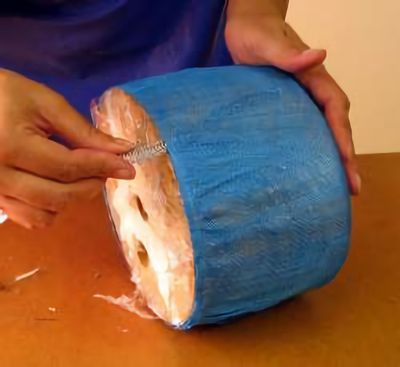
Here is a corset stay in use with a sinamay crown. You can see the corset stay through the sinamay. Push it up and down around the sides of the crown, preparatory to pulling the crown off the block.
Blocking your fabric onto the block makes it as close to the block as possible. The cling film between the fabric and your wooden block prevents it from being stuck permanently to the block! When you insert the end of the corset stay between the hat fabric and the cling film, you will loosen the hold created by the blocking and stiffening.
We’ll be answering more of your questions soon, in the meantime if you’re looking for inspiration and millinery projects why not head over to HATalk? With this code GMB20 claim 20% off a new HATalk Subscription.
If you’re hoping to delve deeper and improve your skills then check out Hatcourses.com – which houses a list of millinery and hat making courses around the world and available teachers.
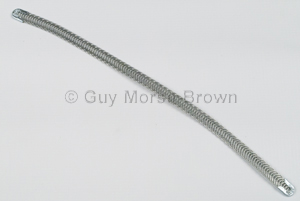
A corset stay – the type which looks like a flattened wire spring – is ideal for taking a blocked crown or brim off a hat block after stiffening and drying! They have smooth ends, which will not damage the hat fabric. Corset stays bend in all directions yet remain stiff. This means that they can be inserted between the cling film covering the block and the hat fabric and moved up and down to loosen it and enable you to take your blocked shape off without damaging it. (Approximate length 30cm). Very helpful indeed!
Ex VAT £6.25
If you are not ordering blocks as well, this product can be purchased by clicking “add to cart”. Otherwise, please click “add to quote” to add it to your block quote.
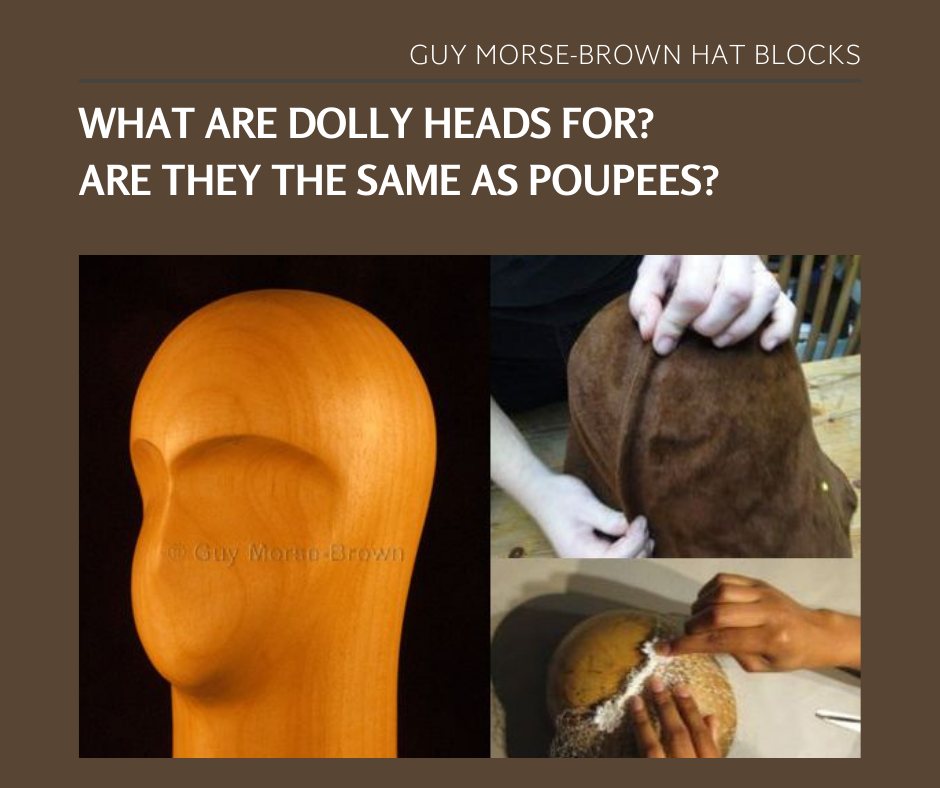
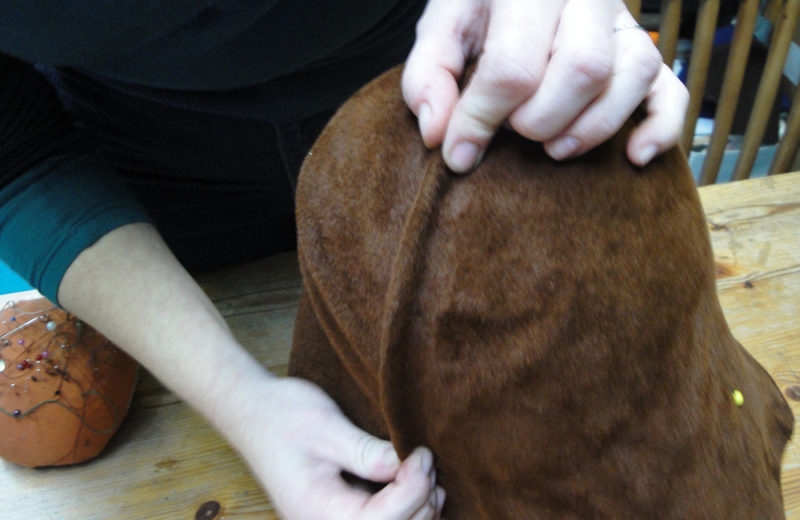
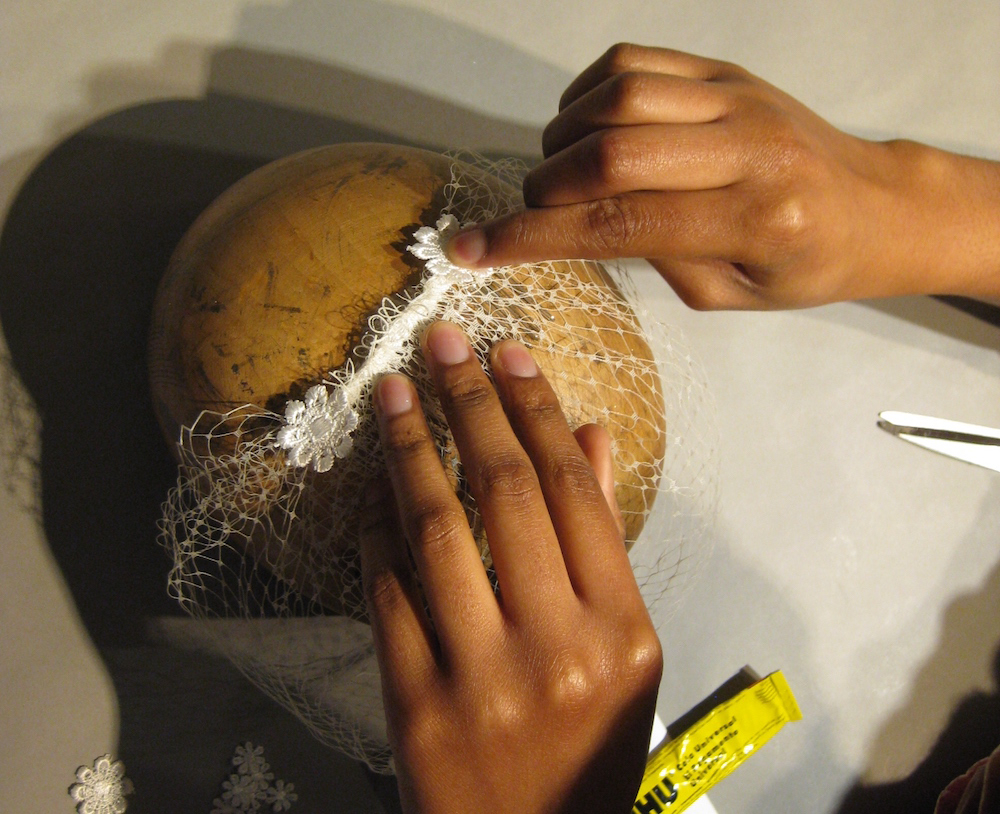
I am often asked what are Dolly Heads for? A dolly head is a wooden version of the stylized canvas-covered papier-mache poupee. Typically you can use a dolly head to create draped forms. This is because it imitates the human head shape. It is a great tool for the milliner. Used in almost every process of hat and headpiece making, it is essential for the positioning of headpiece construction as well as for trimming and fitting veils.
Essentially a milliner designs, drapes and blocks on the dolly head with felt, straw, and foundation materials. Sometimes known as utility blocks they are great for blocking cloches, turbans, fascinator bases in all materials, lacework, supporting a hat or fascinator during trimming, adjusting size, and even for display purposes.
You can also find a step-by-step HATalk project showing you how to create a retro bridal veil as pictured below:
In our workshop, we make them from lime and balsa wood. Lime will last longer but Balsa is sometimes the preferred alternative because of its self-healing properties. However, heavy use over time will mean its shelf life is shorter than that of its lime version.
Simple Dolly Head
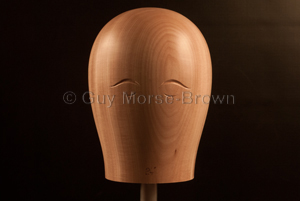
Our simplest Dolly Head is the DH2 this block gives you the basic human head shape and the eyes are marked for placement purposes.
Featureless Dolly Head
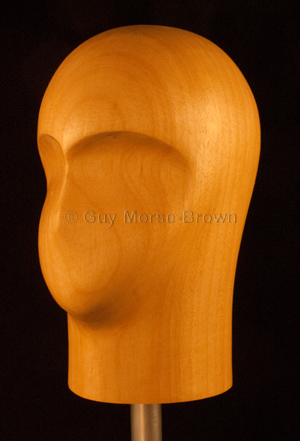
DH4 (Lime) and DH5 (Balsa) have a featureless face but a sloping forehead and a rounded back and good nape of the neck, great for close-fitting cloche hats.
Fully Featured Dolly Head
The DH3 is a fully-featured version with eyebrows, nose and chin.
Which size Dolly Head should I buy?
We make Dolly heads to fit specific head sizes. If you’re looking for an average female head size then we would recommend 22.5″ / 57cm. With all the different options available, choose which features are important to you. Then decide which material you would prefer to work with (lime or balsa).
We’ll be answering more of your questions soon, in the meantime if you’re looking for inspiration and millinery projects why not head over to HATalk? With this code GMB20 claim 20% off a new HATalk Subscription.
If you’re hoping to delve deeper and improve your skills then check out Hatcourses.com – which houses a list of millinery and hat-making courses around the world and available teachers.
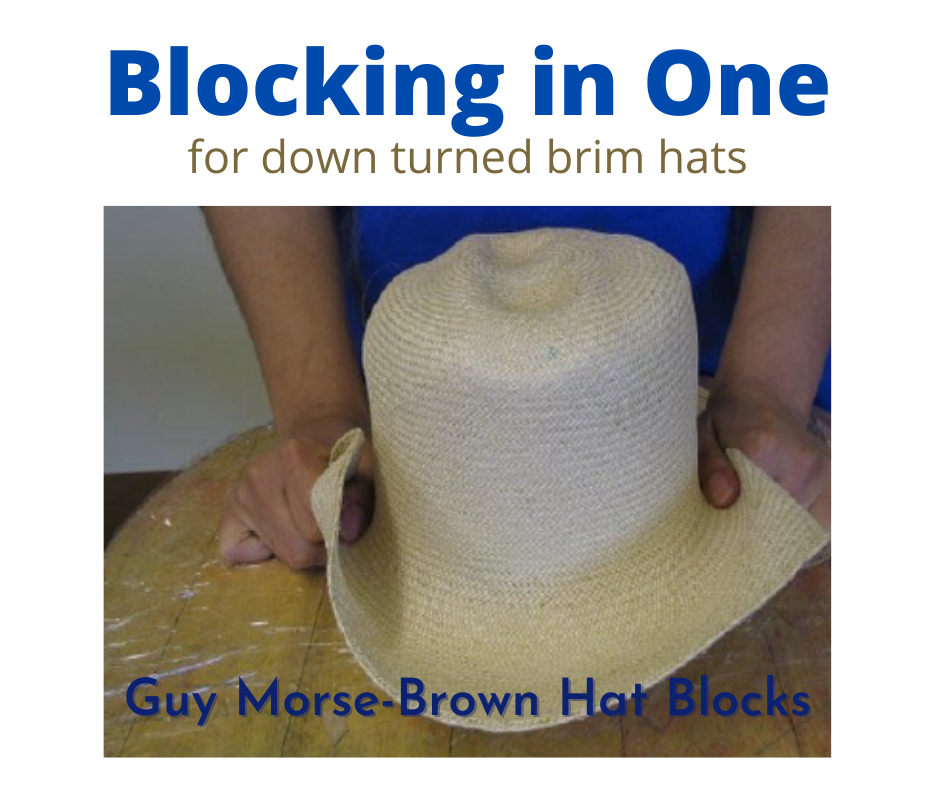
Making hats with a down-turned brim. Can I use the blocking in one technique?
Yes, blocking in one is a common technique for down-turned brim hats. Before the advent of sinamay, felt and straw were the hatters and milliners’ materials. These come partly shaped as cones (hoods) and capelines. For very small-brimmed hats such as cloches, you can use a cone. For larger brimmed hats you can use a capeline. When you block your hat in one, it is made from either a single cone or a capeline to form a one-piece hat. If you want a large brim you must source large capelines. Alternatively, you can consider blocking the crown and brim separately (the crown from a cone, and the brim from a capeline).
Select your blocks
First, you must fix your crown and brim blocks together. As a side note, be careful about which crown block you choose because full height crown blocks are generally taller than you need. This is to allow you to vary the height of your finished crown when blocking separately. We offer a number of options to get the height you need for blocking in one, from exact height crown blocks to Multiblock Tips and varying height Multiblock Extensions.
Cover your chosen brim block with cling film
Tape the cling film securely to the underneath of the block.
Next, cover your chosen crown and either screw or attach to brim with sticky fixers
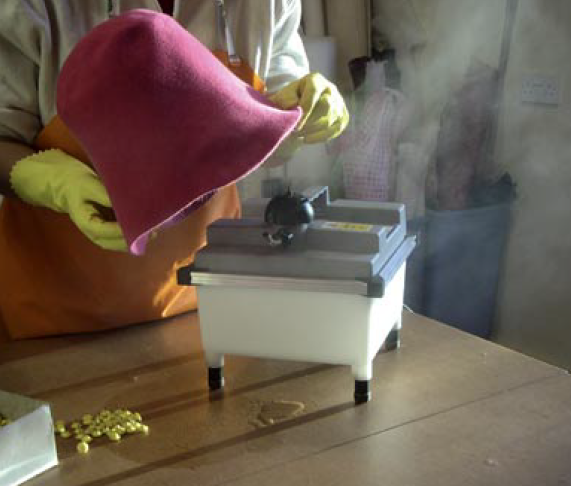
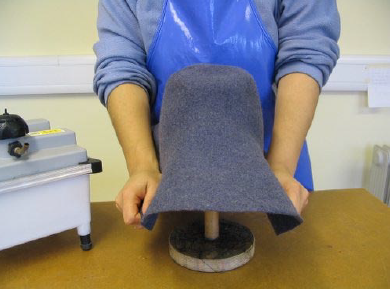
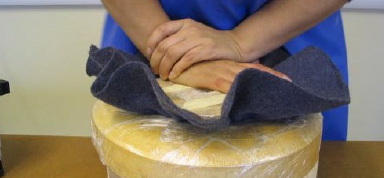
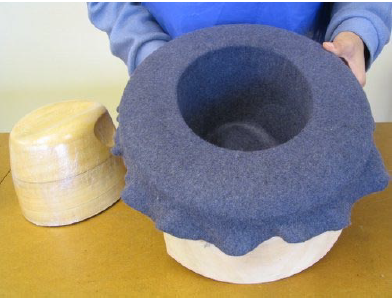
Stretch your steamed cone / capeline over the crown and brim
Tie blocked cone / capeline at the base of crown block with string
At this point, you may wish you had extra hands! A runner down is a very handy tool used to push your string down the blocked crown into the corner between crown and brim. This could be on a cloche block or any crown/brim combination where you need a well-defined line between crown and brim. Watch the demo below:
Pin brim edge or tie into string groove
Pictured above is the ingenious Pin Pusher tool. The pin pusher’s wooden handle fits comfortably into the hand and the metal tube into which the dressmaker’s pin is dropped, head first, has a magnet at the bottom. Subsequently, this holds the pin inside so that it does not fall out, whatever the angle of the tool. Dressmaker’s pins can be hard to press into wooden blocks. Using a thimble can be awkward as it easily slips off the pinhead. A pin pusher gives you extra mechanical power! After pinning into place, allow the hat to dry.
Remove the dry finished hat from blocks and stiffen.
Your hat is now ready to put in a sweatband, or a ribbon, and trim as you wish!
We’ll be answering more of your questions soon, in the meantime if you’re looking for inspiration and millinery projects why not head over to HATalk? With this code GMB20 claim 20% off a new HATalk Subscription.
If you’re hoping to delve deeper and improve your skills then check out Hatcourses.com – which houses a list of millinery and hat-making courses around the world and available teachers.
Making men’s hats with an upturned brim. Can I block the crown and brim together in one piece?
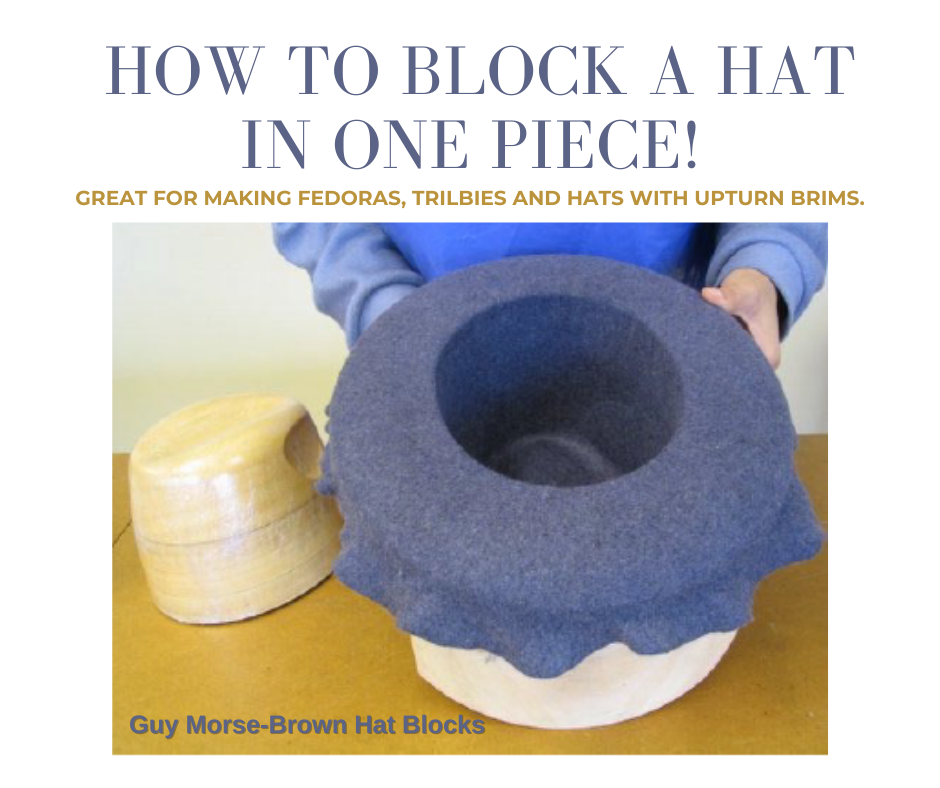
You can block a hat in one piece by using either a single cone or a capeline. This technique is called ‘blocking in one’ and is often used when making men’s hats. So, yes this is possible!
Certainly, if you want to make men’s hats with an upturn from straw and felt in one piece, you need a brim block with a central hole in it. We recommend the hole is 3/4 inch (2 cm) larger in head size than the crown block. This allows for 3mm thickness of felt on the crown block that you will push through the hole in the brim block.
This technique is great for making men’s style hats. Select your crown block and the upturn brim block you will pair it with. You might also want to consider a tipper if you are not hand-shaping the pinch. You’ll also benefit from either a set of brim legs or if you have a number of brims to work with, the universal brim stand.
The blocks used to create the hat below are CB141 crown block with a tipper and paired with the BB55 brim block.
Dealing with the crown
Firstly, steam and stretch the felt capeline over the crown block. If you have a tipper, use it to shape the top, placing a weight on it while the felt dries.
Shaping the dimples
Secondly, if you have an open crown block you will hand shape the pinch. If you have a shaped crown block you can either pin fabric into the dimples when on the block, or use an egg iron. The video below shows a short demo of the egg iron in use.
Dealing with the brim
Thirdly, press the felt for the brim flat onto the table with the corner between the crown and brim. Secure it tightly with string at the base of the crown. You can iron the brim gently to get it nice and flat. At this stage, you can make the felt look a little nicer by gently sanding it all over with 320 grit sandpaper. Make sure you sand it all in the same direction.
Now the crown is complete and you can cut the brim to your preferred width size, using a set of brim cutting wheels. The hat at the top of this post was cut to 1 1/2″ but you can go up to 3″ with the BB55. The brim cutting wheels allow you to cut a very smooth and clean edge. They also allow different brim widths to be achieved from the same brim block as the shaping is done after cutting. The little video below shows the brim edge being cut.
Alternatively, instead of using the cutting wheel, shape the brim on the block and tie the felt into the string groove. After it is dry you can cut the excess felt off with scissors.
Sweatbands and Ribbons
At this stage, you can sew in the sweatband and prepare the ribbon if you like. That leaves only the brim shaping to be done.
Finishing the brim
Now, place the hat upside down inside the brim. (as pictured below). Importantly, the brim must be on a stand or have its own brim legs, to elevate your work off the surface. Now tie a cotton sheet over it using the string groove. Pull it nice and tight, spray lightly with water and iron (not too hot). Leave it to dry and remove.
Finishing the hat
If you want to flip the front down use a little steam across the front. This allows you to bend the front of the brim down to complete the shape.
Finally, attach the hat ribbon, maybe choose a feather trim to add to the hat and you’re done!
We’ll be answering more of your questions soon, in the meantime if you’re looking for inspiration and millinery projects why not head over to HATalk? With this code GMB20 claim 20% off a new HATalk Subscription.
If you’re hoping to delve deeper and improve your skills then check out Hatcourses.com – which houses a list of millinery and hat making courses around the world and available teachers.
This site uses cookies to enhance your experience, and help us improve our site. If you want to know more about cookies, please click the read more link. Allow CookiesDisable CookiesRead More
Privacy & Cookies Policy
Privacy Overview
This website uses cookies to improve your experience while you navigate through the website. Out of these cookies, the cookies that are categorized as necessary are stored on your browser as they are essential for the working of basic functionalities of the website. We also use third-party cookies that help us analyze and understand how you use this website. These cookies will be stored in your browser only with your consent. You also have the option to opt-out of these cookies. But opting out of some of these cookies may have an effect on your browsing experience.
Necessary cookies are absolutely essential for the website to function properly. This category only includes cookies that ensures basic functionalities and security features of the website. These cookies do not store any personal information.
Any cookies that may not be particularly necessary for the website to function and is used specifically to collect user personal data via analytics, ads, other embedded contents are termed as non-necessary cookies. It is mandatory to procure user consent prior to running these cookies on your website.
If you live outside the UK please check what import charges / customs duties you can expect to pay on the value of your order before buying.